How to Repair Mercedes Axor II ECU?
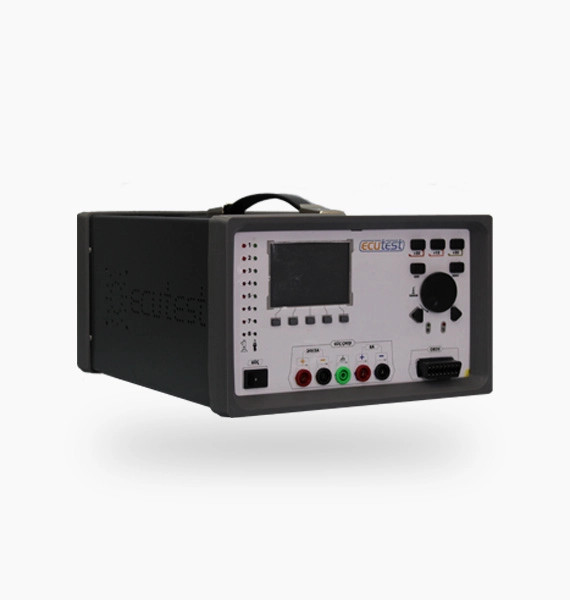
Ecutest Ecu Simulation and Test Device, Thermal Camera (Optional), multimeter and soldering iron set were used for Mercedes Axor II- 2013 Model-Diesel-6 Cylinder-EURO 5 vehicle whose Ecu name was TEMIC WDF375.4 NMB375.4. (Ecu Repair)
The heavy vehicle owner called our garage and reported that the engine did not start despite the heavy vehicle cranking, the crankshaft sensor had changed before calling us, the sensor’s socket and wiring were intact, but the vehicle still did not work, saying that he thought the problem would be in the engine Ecu.
We said that the failure of the vehicle even though there was no problem in the sensor, its socket and the wiring indicated that the problem was in the engine Ecu, and we took the engine Ecu to the desktop by asking the customer.
Mercedes Axor II Ecu Repair
A connection was made between the pins of TEMIC WDF375.4 NMB375.4 Ecu belonging to Axor II-EURO 5 and Ecutest Ecu Simulation and Test Device on the desktop.
You can make this connection with the help of the socket belonging to the TEMIC WDF375.4 NMB375.4 Ecu or with the help of the Unıversal Cable that allows you to connect easily to all the vehicles provided with ECUTEST device.
We made the connection with our Universal cable and ran the ECUTEST program on our computer. After selecting the vehicle brand and model, our simulation screen was opened.
When our simulation screen was opened, we first checked the supply voltages to the sensors by clicking the ‘Sensor Powers’ button on the left and observed that it was okay.
When we returned to our simulation screen, we found very easily both on the screen and on the Ecutest Ecu Simulation and Tester that the crankshaft sensor did not send a correct signal to the Ecu, so the firing times of the injectors were irregular.
After detecting that the crankshaft sensor was defective, we clicked the ‘Component Description’ button at the top of our simulation screen to see the integral to which the crankshaft is connected, then exit from here and click on the ‘ECU Electrical Diagram’ to learn the pins connected to the crankshaft and check the path of the pins and there is a problem on the road.
Was checked with the help of a multimeter. When we checked the integrated crankshaft with a multimeter, we found that the integrated legs were short-circuited to each other, and when we looked with a thermal camera, it was much higher than normal and lost its function with both the multimeter and the thermal camera.
It was observed that the integrated function that manages the crankshaft does not allow the sensor to work correctly, and therefore affects the injectors.
By removing the integrated that manages the crankshaft with the soldering iron equipment without damaging the ECU, a solid integral was placed in its place. After replacing the integrated, we reconnected the Ecu to the Ecutest Ecu Simulation and Test Device.
We have seen that the crankshaft works smoothly and fires the injectors regularly, both on the simulation screen and on the device.
In this way, the failure of the TEMIC WDF375.4 NMB375.4 Ecu on the table without the vehicle was easily resolved with the Ecutest Ecu Simulation and Test Device at the lowest cost and with the exact solution, and the Ecu was delivered to the customer.